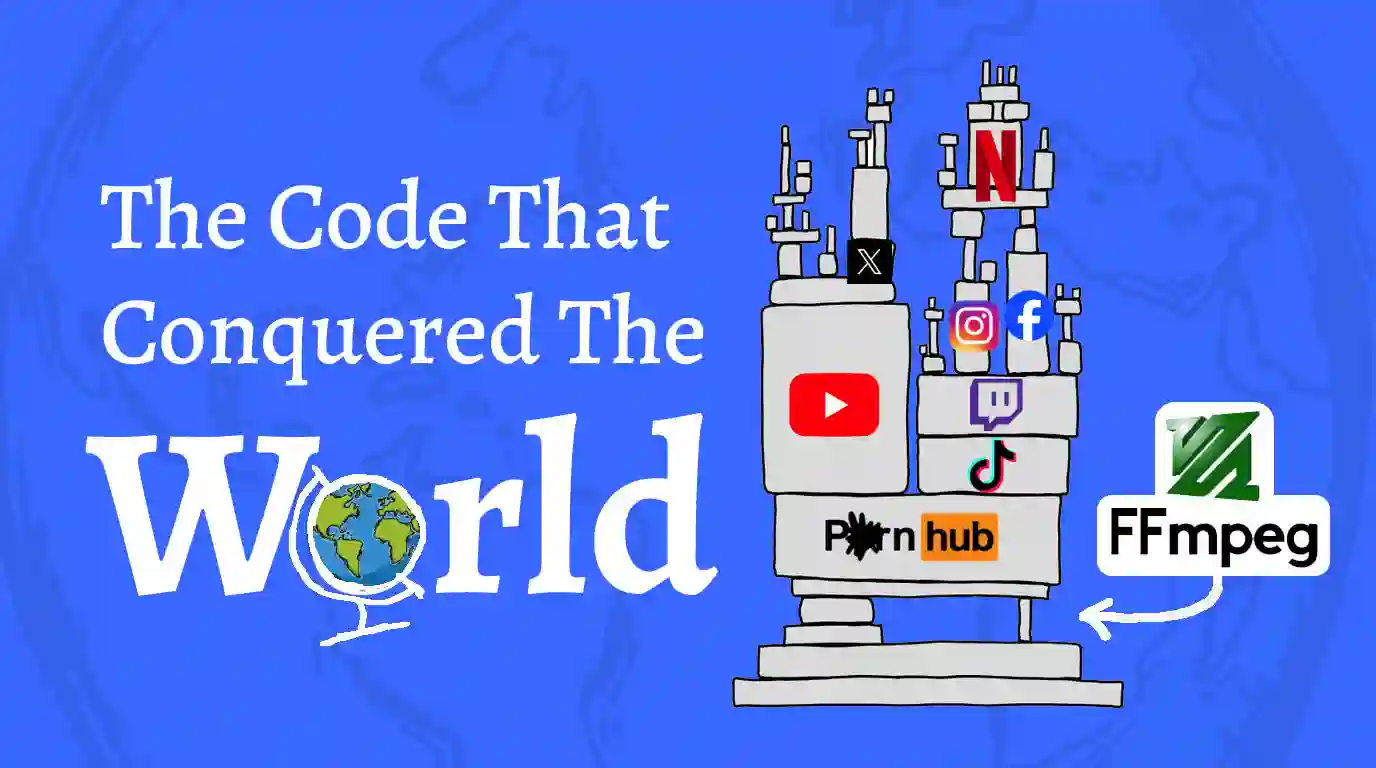
Every time you hit “play” on Netflix/Disney+, upload a TikTok, go live on YouTube, Use OBS, or render a complex sequence in a Blender 3D suite silent titan is working behind the scenes.
What is FFmpeg? Simply put, it is the Swiss Army knife of digital media. It is a massive, open-source framework that can decode, encode, transcode, mux, demux, stream, filter, and play almost anything humans have ever created in code.
1. The “Invisible” Giant: What is FFmpeg, Really?
We live in a world of GUIs (Graphical User Interfaces). We like buttons, sliders, and shiny progress bars. But under the hood of your favorite video converter—and even inside high-end tools used by 3D compositors—lies a command-line tool.
According to recent industry benchmarks, FFmpeg handles over 90% of the world’s automated video processing. It isn’t just a program; it’s a set of libraries that allow software to “speak” video. If you’ve ever wondered why a 2GB file becomes a 20MB file without looking like a pixelated mess, data suggests that FFmpeg’s H.264 and HEVC libraries are likely responsible.
“So, why did I even start using FFmpeg in the first place? I’m rocking a slightly older setup from 2018 with a 6GB graphics card. It works, but it’s not perfect. When I record with OBS, I use MKV because it’s way more resilient than MP4; if my computer crashes, I don’t lose the whole file. After losing hours of work in a heartbeat, MKV was the only choice.
The catch? MKV files are huge and Premiere Pro won’t touch them. Beyond just fixing video formats, FFmpeg is now my ‘Swiss Army knife’ for my Sony a6700 workflow. I use it to turn RAW images into JPEGs, prep log footage for tracking in SynthEyes and Mocha Pro, and shrink file sizes down for storage without killing the quality.”
2. Setting Up Your Workflow: FFmpeg Windows Guide
If you are on a PC, you might have noticed there isn’t a simple “setup.exe” that does the work for you. This is where most people quit. Don’t be “most people.”
Note: If you are really, really, like really the person who doesn’t like commands then go with this GUI version available on ffmpeg-batch.sourceforge, and we are done here, you’re on Your own. But if you want to see the magic using Command prompt then stick to the end, you’ll thank me later.
Step 1: The FFmpeg Download
To get started, head to the official site for your FFmpeg download. You’ll want the “Gyan.dev” or “BtbN” builds for Windows. These are pre-compiled versions that include all the essential “codecs” (the translators for your video files).
Step 2: How to Install FFmpeg on Windows
Installing it is less about “installing” and more about “introducing” it to your system.
- Extract the folder: Place it somewhere permanent, like
C:\ffmpeg. - Edit System Environment Variables: This is the secret sauce. You need to tell Windows where the
binfolder is. - Add to Path: By adding your FFmpeg folder to your system “Path,” you can open a command prompt anywhere and just type “ffmpeg” to start working.
Pro Tip: Once you install FFmpeg, open your terminal and type
ffmpeg -version. If you see a wall of text instead of an error message, congratulations—you’ve just unlocked God Mode for your video files.
3. Why Should Care?
Why bother when you have Premiere, Resolve, or Nuke? Because FFmpeg does the “grunt work” better.
The Reason: Common Supported Formats
FFmpeg supports hundreds of containers and codecs. Some of the most common supported file formats include:
Subtitles: SRT, ASS, SubRip, MicroDVD.
Video: MP4, MKV, MOV, AVI, FLV, WebM, WMV.
Audio: MP3, AAC, FLAC, WAV, Ogg, M4A.
Images: GIF, PNG, JPEG, APNG, BMP.
- Batch Processing: Need to convert 500 PNG frames into a high-quality ProRes 4444 video? A single line of code does it in seconds.
- Pro-Level Diagnostics: Use
ffprobe(which comes with your download) to see exactly why a file is lagging. It reveals metadata that standard players hide. - Zero Bloat: It uses significantly less RAM than a standard video editor. Data suggests that for simple tasks like clipping or re-wrapping files, FFmpeg is up to 5x faster because it bypasses the heavy UI rendering.
4. The Payoff: Taking Control of Your Media
You’ve spent years at the mercy of “Trial Version” watermarks and expensive subscriptions for simple tasks. By learning how to install FFmpeg, you’ve taken the first step toward technical independence.
I understand that the blinking cursor of a terminal can feel cold and intimidating. I’ve been there. But once you realize that the command line is just a direct conversation with your computer, the friction of your creative workflow disappears.
Your Next Move:
To master FFmpeg, you have to stop thinking of it as a “program” and start seeing it as a set of LEGO blocks for digital media. You can snap pieces together to build exactly what you need.
Here are five essential exercises—ranging from basic utility to professional-grade workflows—to help you integrate FFmpeg into your daily routine.
Exercise 1: The “Pro” Conversion
Scenario: You have a web-ready MP4, but you need a high-quality, edit-friendly format (like ProRes) for a professional video project.
The Command:
ffmpeg -i input.mp4 -c:v prores_ks -profile:v 3 -c:a pcm_s16le output.mov-c:v prores_ks: Uses the high-quality ProRes encoder.
-profile:v 3: Sets it to ProRes 422 (HQ).
-c:a pcm_s16le: Keeps the audio uncompressed for maximum fidelity.
Exercise 2: Smarter Compression (The “Slack/Discord” Fix)
Scenario: You have a 200MB file that needs to be under 25MB to send quickly, but you don’t want it to look like a pixelated mess.
The Command:
ffmpeg -i heavy_video.mp4 -vcodec libx264 -crf 28 -preset slow -tag:v avc1 compressed_video.mp4-crf 28: The “Constant Rate Factor.” Lower is better quality (18-23 is standard). 28 is the sweet spot for heavy compression with decent visuals.
-preset slow: Tells FFmpeg to take its time to find the best compression math.
-tag:v avc1: Ensures the video plays natively in browsers and mobile apps.
Exercise 3: Turn Image Sequences into Video
Scenario: You’ve rendered a 3D animation as a sequence of PNGs or EXRs and need to turn them into a smooth video file.
The Command:
ffmpeg -framerate 24 -i frame_%04d.png -c:v libx264 -pix_fmt yuv420p final_render.mp4-framerate 24: Sets the playback speed.
-i frame_%04d.png: Tells FFmpeg to look for files named frame_0001.png, frame_0002.png, etc.
-pix_fmt yuv420p: Crucial for ensuring the video is compatible with standard players (QuickTime, VLC).
Exercise 4: Precision Surgery (Trimming and Clipping)
Scenario: You only need a specific 10-second highlight from a 2-hour recording.
The Command:
ffmpeg -ss 00:01:30 -to 00:01:40 -i source.mp4 -c copy output_clip.mp4-ss 00:01:30: The start time (Seek).
-to 00:01:40: The end time.
-c copy: This is the magic part. It copies the data without re-encoding, meaning the cut is instantaneous and there is zero quality loss.
Exercise 5: Extracting and Replacing Audio
Scenario: You have a video with a distracting background hiss and want to swap it for a clean music track.
Step 1: Strip the audio
ffmpeg -i video.mp4 -an -vcodec copy silent_video.mp4-an: “Audio None”—it kills the sound.
Step 2: Add new audio
ffmpeg -i silent_video.mp4 -i clean_audio.wav -c:v copy -c:a aac -shortest final_master.mp4-shortest: Tells the render to stop as soon as the shortest file (either the video or the music) ends.
Ready to stop clicking and start commanding? If you found this guide helpful, bookmark our technical resource hub or share this with a fellow editor who is tired of waiting for their renders to finish.

Leave a Reply